Brush Up on Your Painting Skills: Essential Tools and Techniques
So you’ve chosen the perfect paint color and finish for your project – fantastic! But before you grab your brush and dive in, understanding the essential tools and techniques can make all the difference between a good paint job and a truly flawless finish. At Cyan Painting, we’re passionate about empowering DIY homeowners. Here’s your guide to essential painting tools and techniques:
Gearing Up for Success: Must-Have Painting Tools
- High-Quality Brushes & Rollers: Invest in good quality brushes and rollers appropriate for your paint type and surface. Natural bristles work best with oil-based paints, while synthetic bristles are ideal for latex and acrylic paints.
- Drop Cloths & Painter’s Tape: Protect your floors, furniture, and trim with drop cloths and painter’s tape. Opt for high-quality painter’s tape that removes cleanly without damaging surfaces.
- Sanding Supplies: Sandpaper helps create a smooth painting surface and ensures better paint adhesion. Use a variety of grits (fine to coarse) depending on the project.
- Putty Knife: A putty knife is essential for patching minor imperfections and filling in small holes before painting.
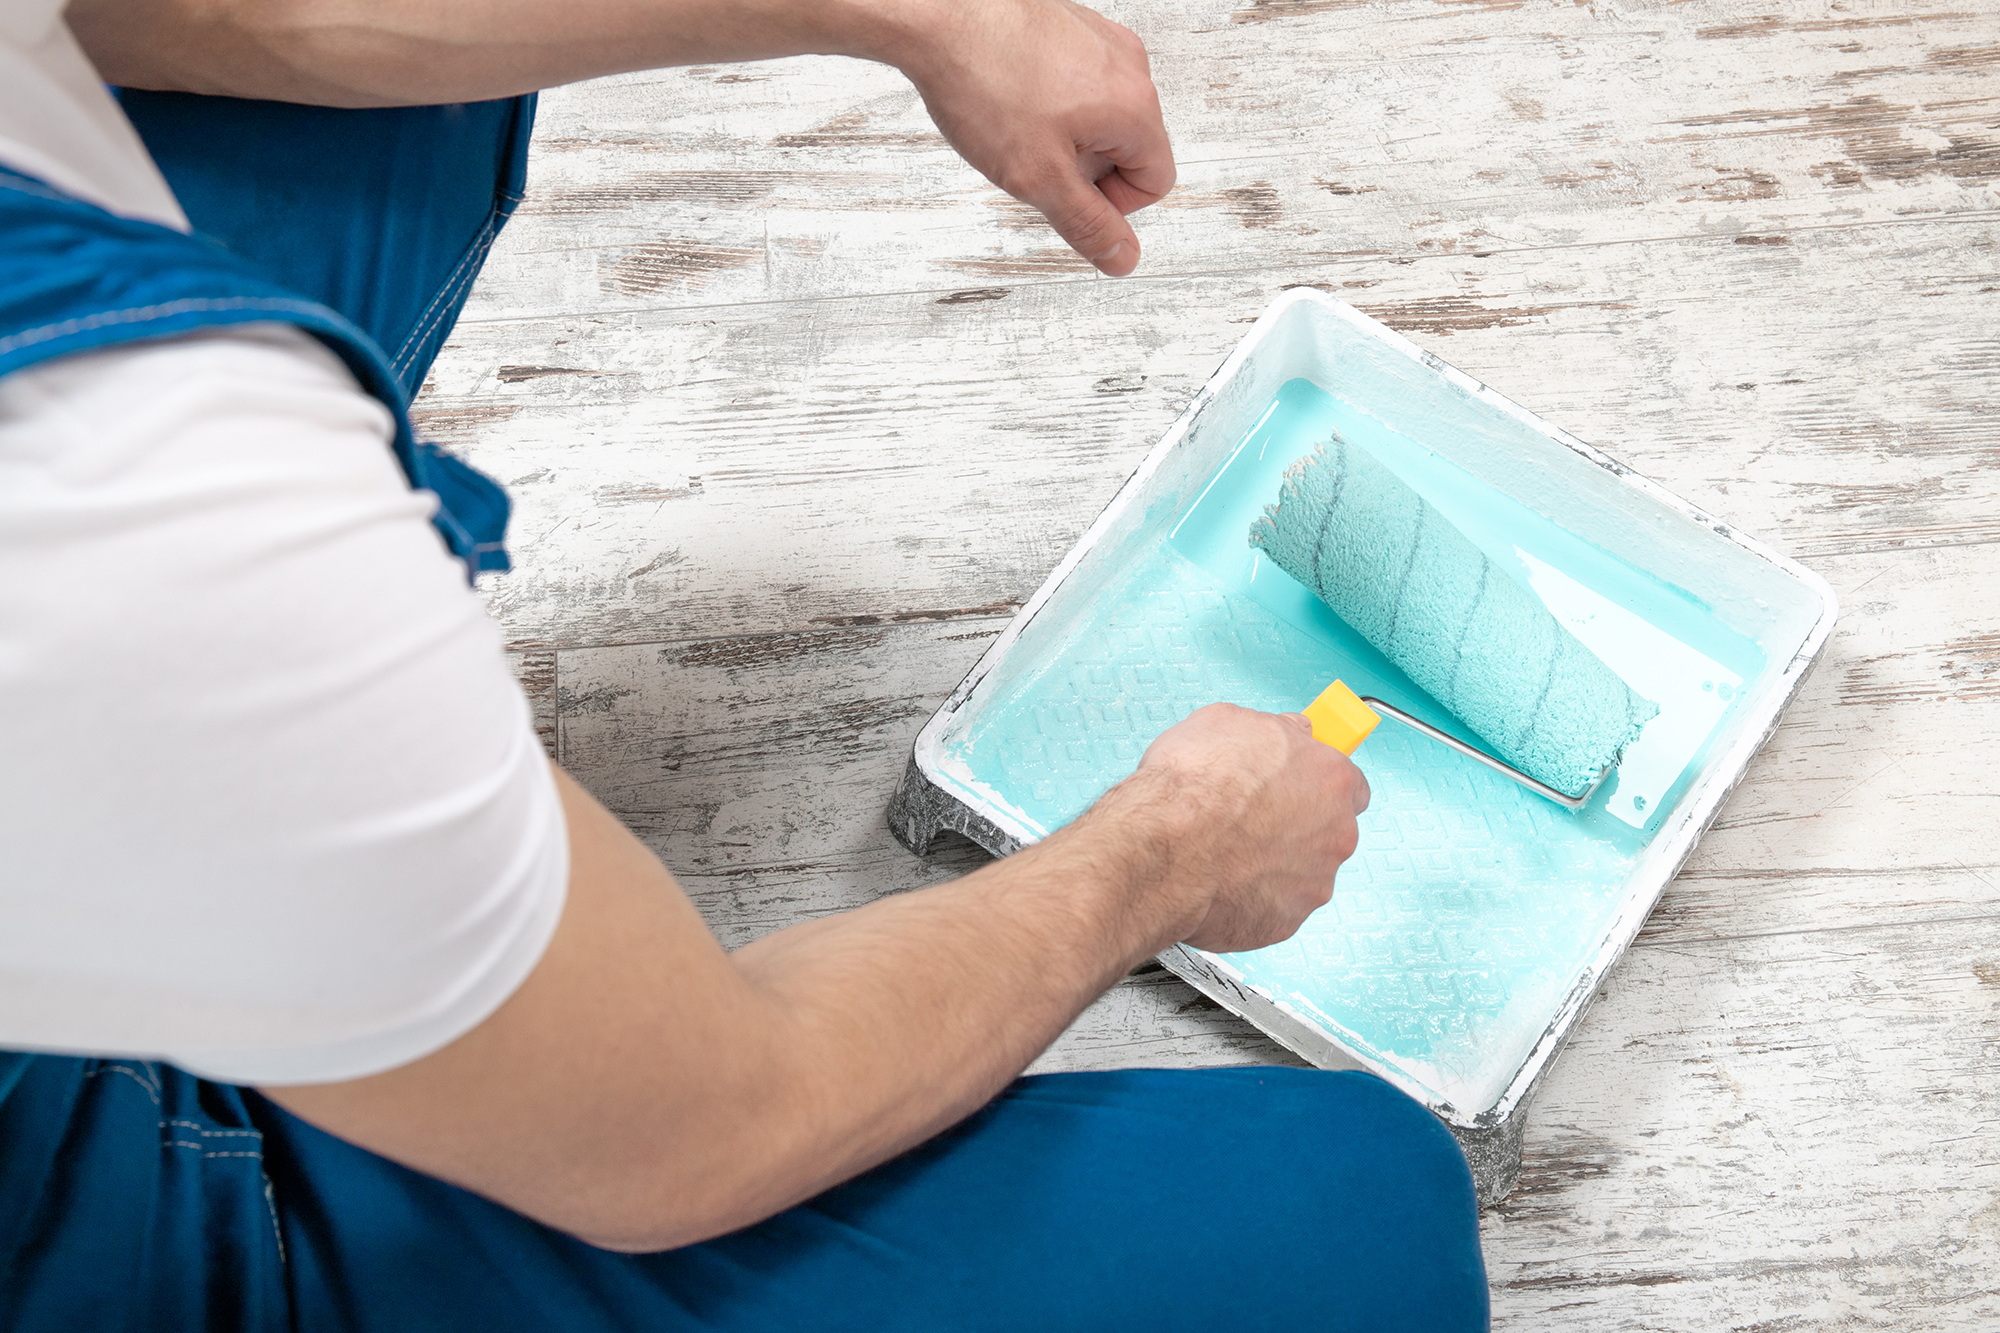
- Paint Tray & Bucket: A paint tray helps manage paint and reduces dripping. A bucket is necessary for mixing paint and storing brushes while taking breaks.
- Safety Equipment: Protect yourself with safety glasses and a dust mask, especially when sanding or using oil-based paints.
Mastering the Art of Painting: Essential Techniques
- Surface Preparation is Key: A smooth, clean surface is crucial for a flawless paint job. Wash walls with a mild detergent solution, sand them lightly, and fill any imperfections with putty.
- Cutting In Like a Pro: Cutting in refers to painting the edges and corners where a brush meets the trim or ceiling. Use a quality brush and painter’s tape for crisp lines.
- The Art of Rolling: Pour paint into the paint tray and roll it onto the roller until evenly coated. Apply paint in smooth, even strokes in a W-pattern to avoid streaks and overlaps.
- Maintaining a Wet Edge: Work in sections and maintain a wet edge to prevent visible lines where sections meet.
- Two Coats are Always Better Than One: A single coat may appear sufficient initially, but two thin coats ensure complete coverage and a more durable finish.
- Cleaning Up is Crucial: Clean your brushes and rollers thoroughly with warm water and soap after each use.
Pro Tips for a Flawless Finish
- Work in a Well-Ventilated Space: Proper ventilation is essential, especially when using oil-based paints.
- Start with the Ceiling: Paint the ceiling first, followed by walls and trim. This way, any drips from the ceiling can be easily covered by wall paint.
- Less is More: Avoid overloading your brush or roller with paint. Apply thin coats and add more if needed for complete coverage.
- Take Breaks and Step Back: Regular breaks help avoid fatigue and ensure you maintain a critical eye for detail. Step back periodically to assess your work and identify any imperfections.
Beyond the Basics: When to Call in the Professionals
Contact us today for a free consultation.
While DIY painting can be rewarding, some projects are best left to the professionals. Consider hiring a professional painting company for:
- Large or Complex Projects: Extensive interior or exterior painting projects require expertise and efficiency.
- High Ceilings or Difficult Reaches: Safely reaching high ceilings or awkward angles can be challenging for DIYers.
- Specialty Finishes: Certain finishes like textured or metallic paints require specific skills and techniques.
Empowering You for a Successful Painting Project
With the right tools, techniques, and a dash of confidence, you can achieve a beautiful, professional-looking paint job! If you have any questions or need assistance choosing paint or supplies, don’t hesitate to contact us. We’re here to help you achieve your painting goals!
Give us a call today for a free estimate!